
Introduction to ClickUp Forms
ClickUp forms are extremely versatile and can be used for a variety of different purposes: onboarding, hiring, asset requests, offboarding, testimonial requests, client requests, and more. This guide will walk you through the creation of a form equipped with advanced automations to optimize your workflow and reduce manual tasks and eliminate manual work.
Step 1: Create And Customize Your Form
Start with a Forms Folder
For better organization, it’s advisable to house all your forms within a single Forms Folder. This makes locating and managing forms straightforward. As a ClickUp Verified+ Consultant, I use ClickUp forms for a variety of purposes including feedback and client intake.
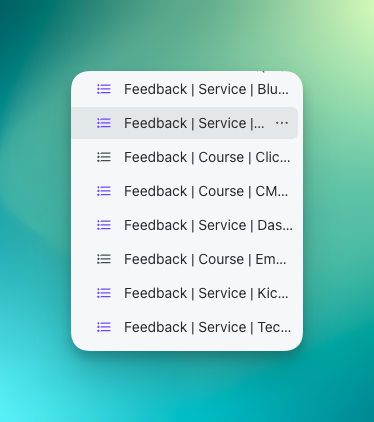
Create a new list for each form to keep things organized or you can create multiple forms that feed to the same list.
Personalizing Your Form
Customization is key to making your form fit for purpose. Add a personal touch by removing ClickUp’s branding and incorporating your logo. Utilize the description box at the top of the form to add any pertinent info such as directions or links to additional information.
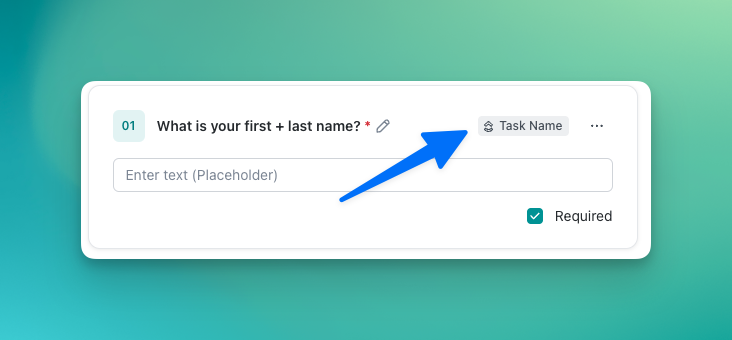
Tailoring Task Names
Changing the default task name field to something more descriptive, like “Name of the asset,” immediately tells you what the submission is about at a glance. This customization is crucial for quick identification and processing of submissions.
Adding Custom Fields
Incorporate dropdown custom fields to categorize tasks by department or any other criteria relevant to your workflow. Remember to use vibrant colors for easy differentiation.
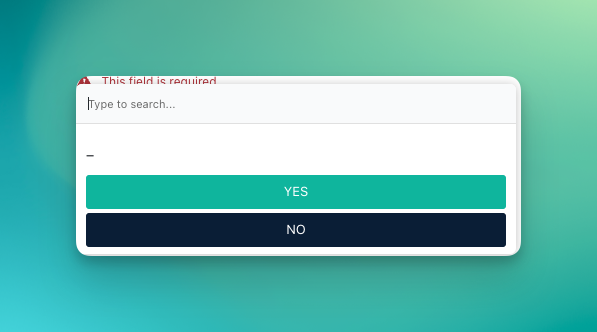
Use Conditional Logic
Use conditions to add dynamic content to your form. For example, you can have a date field appear when someone answers “yes” to a question. Simply toggle the logic button on and add a new or existing field to the form which will only show when the respondent answers yes. You can add up to 25 rules, allowing you to get really specific and create a few main forms to use for various purposes.
Utilizing Existing Custom Fields
Before creating new custom fields, check if existing ones can fulfill your requirement using the Custom Field Manager. This approach prevents clutter and duplicates and allows for insightful data analysis across your workspace.
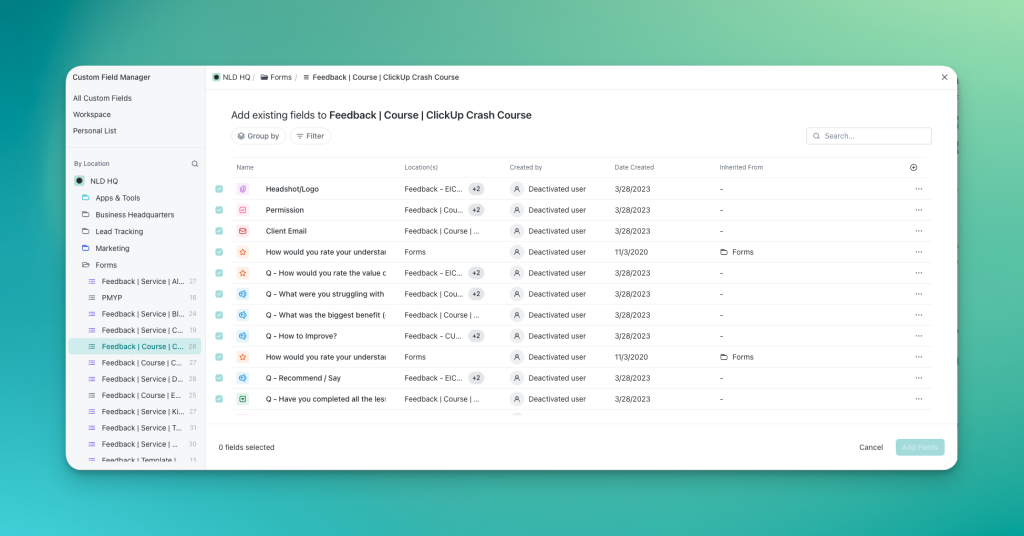
You may wish to add in the “due date” custom field or the “priority” custom field so that the person submitting the form can indicate the due date or urgency. You can also select whether a field is required or not and add placeholder text for text fields.
Also Read: Using a ClickUp Form to Hire a VA
Step 2: Configure Form Settings
Streamlining Task Assignment
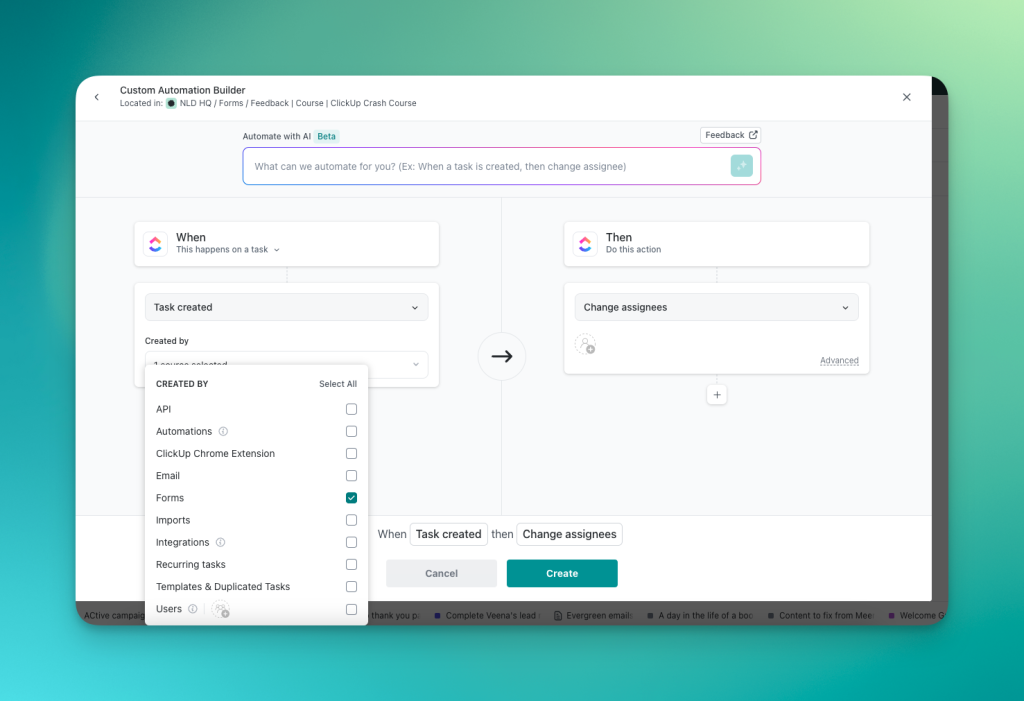
Automations can automatically assign tasks based on the department selected in the form submission, ensuring the right team handles the request promptly. For this type of automation, make sure to use the “task created” trigger. If you need to get more specific so that your automation doesn’t run on every single task creation, you can specify tasks created by forms.
Email Automations
Set up email automations to notify relevant parties upon form submission. Use variable fields to include detailed information about the task in the email, enhancing communication efficiency and personalization.
Advanced Automations
Leverage advanced options like conditional automations and multiple actions to further refine how tasks are processed post-submission. This can include moving tasks to specific lists based on conditions or changing their status and priority automatically as well as notifying the relevant team members about the form submission.
You can also have a form redirect which can be useful if you want to redirect back to your website or if you want to invoice using ClickUp and redirect to a PayPal url.
ClickUp Email Automations
Create a ClickUp Email automation to send out an email when a form is submitted. Use the variable fields to pull in information from the task and form so that the email gives you a lot of information from the form submission.
For example, I can add to the email body: ‘Task Name’ was created on ‘Date Created’. This request is ‘Priority’ for ‘Department’ and assigned to ‘Assignee(s)’. The requested due date is ‘Due Date’. Pull in this information by clicking on these fields at the bottom and then hitting save.
Managing Submissions with Custom Views
Create custom views in ClickUp to monitor form submissions effectively. Choose which columns to display, such as ‘Submission Date’, ‘Due Date’, ‘Assignee’, ‘Department’, and ‘Priority’ or additional custom fields that may need to be visible for processing for a comprehensive overview at a glance.
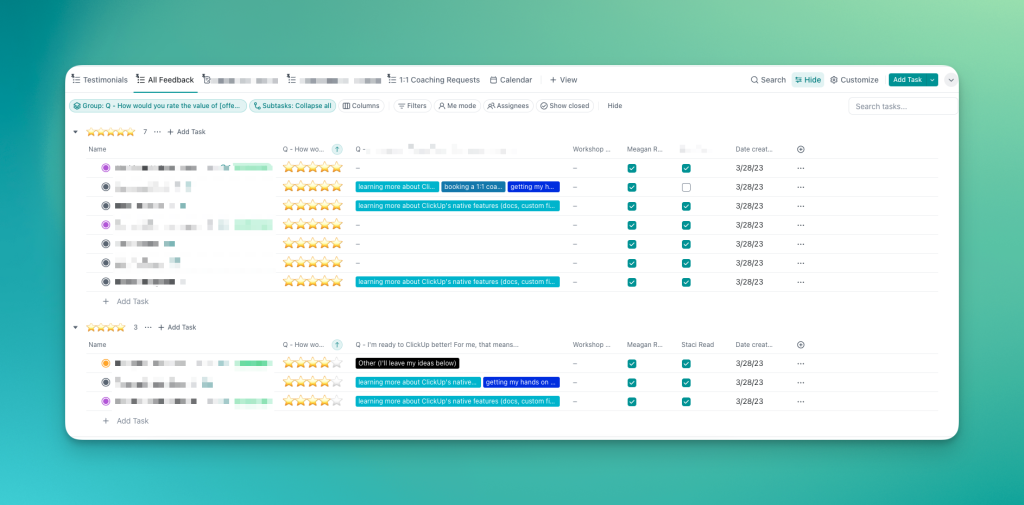
This organized approach not only facilitates easy tracking of submissions but also integrates seamlessly with automated processes for responding to or following up on requests directly from within ClickUp.
Conclusion: Enhancing Efficiency with ClickUp Forms
ClickUp forms, when combined with powerful automations and thoughtful customization, can significantly enhance your team’s efficiency and workflow management. By following this guide, you’ll be well-equipped to create forms that streamline processes and minimize manual interventions.
Need more help leveling up your ClickUp forms? Our Forms templates can get you started in less than 5 minutes! Learn more here.